This article provides a step-by-step explanation on how to configure SSO with Okta and babelforce through openID connect
Disclaimer:
if you are already a babelforce customer and want to use babelconnect and manager SSO with openID connect, you need a custom application in okta already. See last section or contact support@babelforce.com to learn more.
1. Requirements
In order to configure the SSO settings in babelforce, you must have access to a User with the "manager" role in babelforce and administrator privileges in Okta.
2. Support Features
We support the following SSO features.
- Service Provider (SP) Initiated
- Identity Provider (IdP) Initiated
3. Step-by-step configuration instructions
Note: After the babelforce.com template app is assigned to our dev account this section will be updated.
3.1 Prerequisites
- You should know your company name it is located in the babelforce manager application at "My Account" in "your-user@example.org" (bottom left corner) -> "Overview"
- (optional) locate your well known openid-configuration file. https://${tenant}.okta.com/.well-known/openid-configuration
- tenant is your tenant id in okta for example https://dev-25542524-admin.okta.com/.well-known/openid-configuration
- open that file
- note down the values for the following 3 properties, you will need them on the babelforce side
- issuer
- authorization_endpoint
- token_endpoint
- (optional) note down your babelforce Access ID, it is located in the babelforce manager application at "My Account" in "your-user@example.org" (bottom left corner) -> "Overview"
3.2 Choose babelforce.com template app from OIN cataloge and configure it
3.2.1 Search for the babelforce.com application
- Browse app catalog
- Search for the integration by typing in "babelforce" and select the integration
- click on babelforce.com
-
add integration
- enter an application name, for example babelforce.com SSO
- You created the babelforce.com SSO application and should end up on the "Assignments" page of the application. The application is not yet working, you still need to configure it.
- On the assignments page you have to add users or user through groups that should be able to login via SSO.
3.2.2 Get configuration settings for the babelforce.com SSO application
- Go to the Sign On section of the application.
- Copy the Client ID and Client secret
- Open the link for OpenID Provider Metadata
3.2.3 Login into your babelforce manager account and go to "SSO settings"
Go to the Single-Sign-On Settings
Fill the required information in the dialog and save.
Site: enter the value issuer from 3.1. Prerequisites or from the OpenID provider metadata
Token Path: enter the value token_endpoint issuer from 3.1. Prerequisites or from the OpenID provider metadata
Auth Path: enter the value authorization_endpoint issuer from 3.1. Prerequisites or from the OpenID provider metadata
Client ID: enter the client ID value from configuration data
Client Secret: enter the client secret value from configuration data
Principal Claim: depends on your usecase, for okta it is most likely email
Press save bottom right.
Redirect URI should be populated automatically
3.2.4 Get configuration data from babelforce.com
-
copy the Redirect URI named babelconnect2
- the url structure should look like https://apps.{babelforceEnv}.babelforce.com/{babelforceAppName}/user/sso/{babelforceAccessID}
- locate your company name in Overview
- copy your company name and create the following Initiate login URI https://apps.${babelforceEnv}.babelforce.com/manager/user/login?tenant=${babelforceCompanyName}&login=true
-
babelforceCompanyName you take from the overview page, if it contains spaces or any special characters you need to url encode the company name before putting it in the url above.
E.g.: Your company name is "okta testing" than you should construct the following URI https://apps.${babelforceEnv}.babelforce.com/manager/user/login?tenant=okta%20testing&login=true note that you had to encode the space inbetween "okta testing" with %20. - babelforceEnv you can see that in your url bar of your browser or in the redirectURI on the SSO page. Basically anything in between of apps and babelforce.com. E.g.: https://apps.babelforce.com/manager/user/login there is nothing inbetween so you are on the main babelforceEnv and can leave it empty like so https://apps.babelforce.com/manager/user/login?tenant=${babelforceCompanyName}&login=true
-
babelforceCompanyName you take from the overview page, if it contains spaces or any special characters you need to url encode the company name before putting it in the url above.
- An example URL would look like that https://apps.babelforce.com/manager/user/login?tenant=okta%20testing&login=true ,note this example shows a url for the main babelforce environment and a company named "okta testing".
3.2.5 configure the babelforce.com application on the okta side
- go to the Sign On section
- fill Redirect URI and Initiate Login URI with the values from the prior paragraph.
- Application username format select "email"
- Press save
Your okta application and babelforce.com should be configured for SSO now.
3.3 Add users to babelforce.com application on okta
Please add the users that are known to babelforce.com to the okta application for example via a babelforce.com group in okta.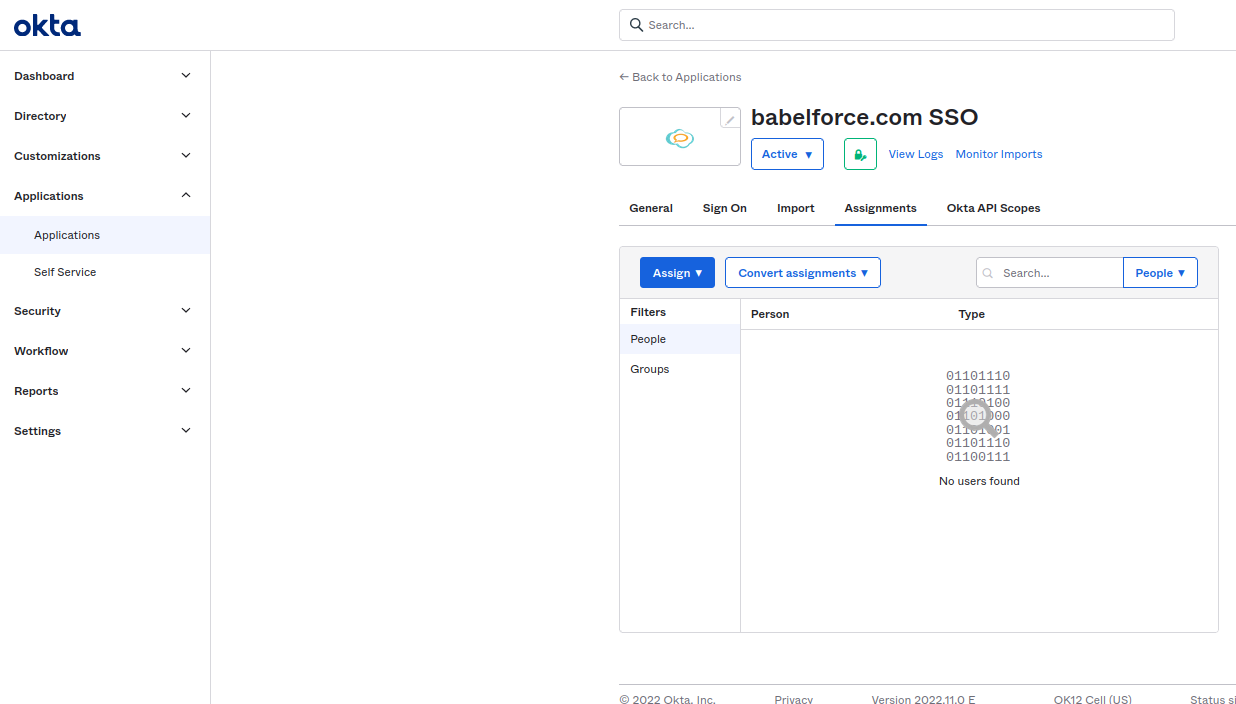
3.4. Login via SSO
Go to the babelforce login page and switch to login with SSO
Enter your company name (see Prerequisites) in "Tenant" text box, press "Login with SSO" button
Note: only users that are known to babelforce and okta by the same email address will be able to login.
3.6 Troubleshooting, Known Issues and Tips
-
only users that are known to babelforce and okta by the same email address will be able to login.
- Select email for the application username format on the babelforce.com SSO application in okta
- Enter email for the SSO configuration value claim in the babelforce.com
- Add users to your babelforce.com SSO application in okta
4. Advanced setup, configure SSO via "Create App Integration" in Okta
This part of the guide allows you to setup a custom SSO App integration with okta. You need to have advanced knowledge of okta to make that work. It is not the recomended procedure.
This allows you to solve the following use cases
- Multiple babelforce applications can be supported e.g. manager and babelconnect2
- You can automatically add all your okta users to the app integration automatically
4.1. Prerequisites:
- locate your well known openid-configuration file. https://${tenant}.okta.com/.well-known/openid-configuration
- tenant is your tenant id in okta for example https://dev-25542524-admin.okta.com/.well-known/openid-configuration
- open that file
- note down the values for the following 3 properties, you will need them on the babelforce side
- issuer
- authorization_endpoint
- token_endpoint
- note down your babelforce Access ID it is located in the babelforce manager application at "My Account" in "your-user@example.org" (top right corner) -> "Overview"
- You should know your company name it is located in the babelforce manager application at "My Account" in "your-user@example.org" (top right corner) -> "Overview"
4.2 login into your okta admin area
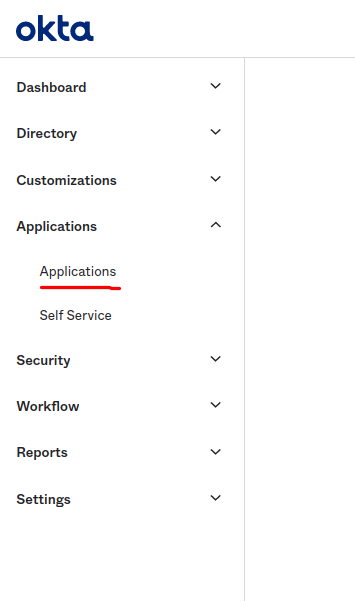
4.3 go to applications
4.4 create the app integration
4.4.1 Create new app integration dialog
Sign-in method: OIDC - OpenID Connect
Application type: Web Application
Press next
4.4.2. Fill out the form "New Web App Integration"
App Integration name: babelforce.com OIDC (or anything else you prefer)
Logo (Optional)
Client acting on behalf of a user (default): Authorization code
Sign-in redirect URIs:
${environment} needs to be replaced with the environment your account is on e.g. `services` for EU
${babelforce_access_id} the value you noted down earlier
- https://${environment}.babelforce.com/manager/user/sso/${babelforce_access_id}
- https://${environment}.babelforce.com/babelconnect2/user/sso/${babelforce_access_id}
Sign-out redirect URIs: empty
Assignment:
Press "Save" Button
4.5 Configure your babelforce.com account
4.5.1 You are send to this page by okta
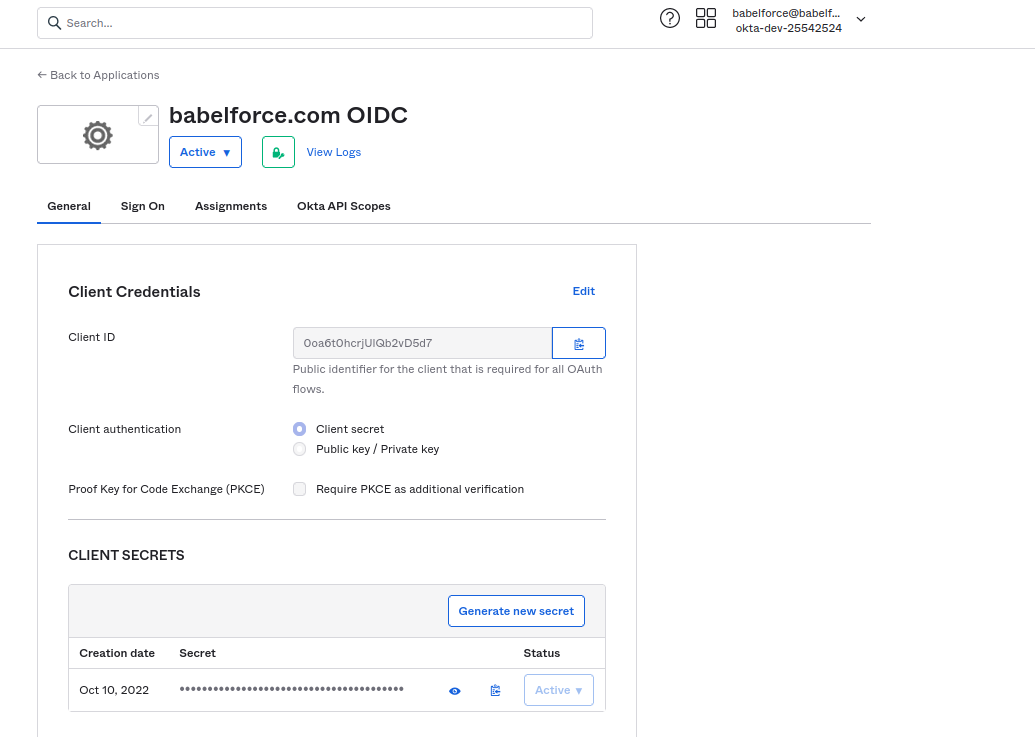
Copy the client id and client secret.
4.5.2 Login into your babelforce manager account and go to "SSO settings"
Fill the required information in the dialog and save.
Site: enter the value issuer from 0. Prerequisites
Token Path: enter the value token_endpoint issuer from 0. Prerequisites
Auth Path: enter the value authorization_endpoint issuer from 0. Prerequisites
Client ID: enter the client ID value from 4.1.
Client Secret: enter the client secret value from 4.1.
Principal Claim: depends on your usecase, for okta it is most likely email
Press save bottom right.
Redirect URI should be populated automatically and should match your okta settings from 3.2. Sign-in redirect URIs
4.6 Login with SSO
Go to the babelforce login page and switch to login with SSO
Enter your company name (see 0. Prerequisites) in "Tenant" text box, press "Login with SSO" button
Note: only users that are known to babelforce and okta by the same email address will be able to login.
Related to
Comments
0 comments
Please sign in to leave a comment.